2. Wellness. Energy balance

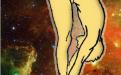
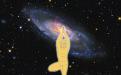
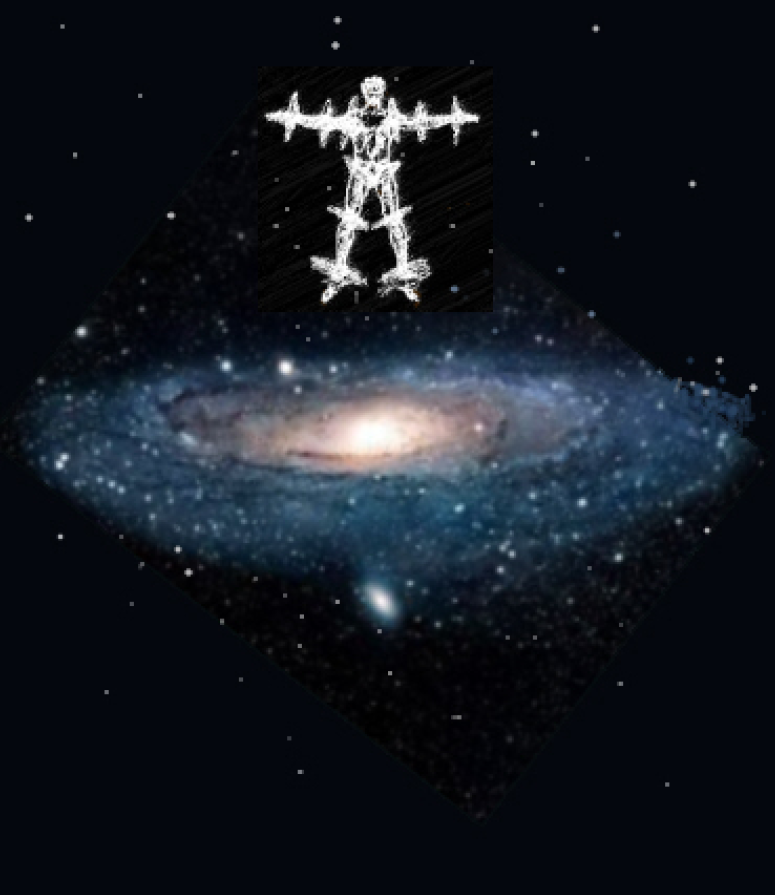
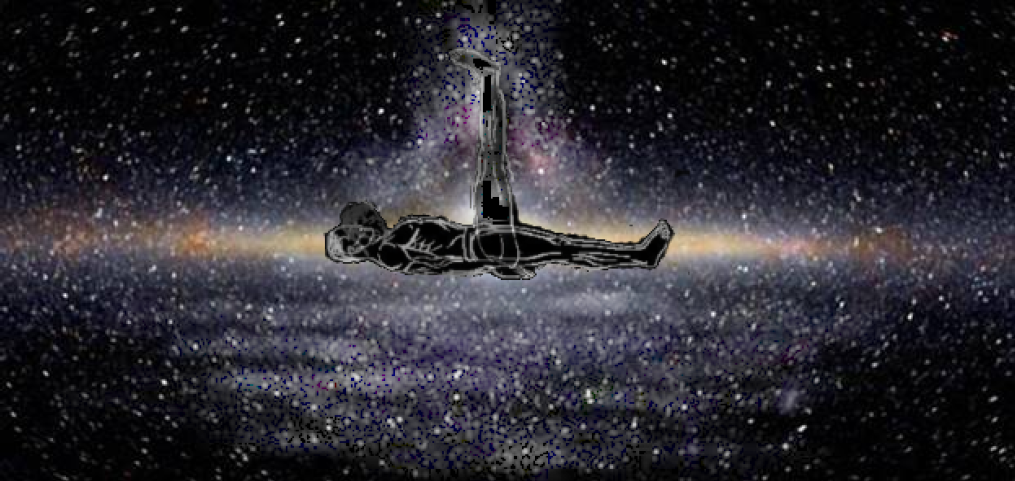
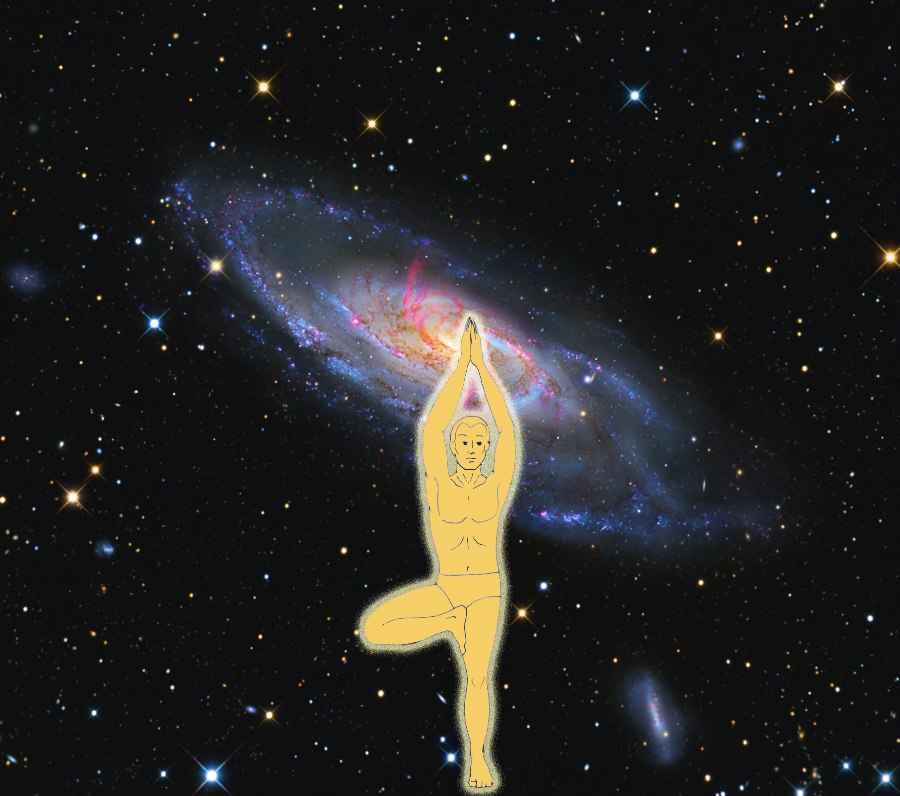
The practice teaches the body stability, relaxation, and control over the physical form. It is necessary to prepare the body for long and still meditation without pain or tension.
There are seven causes of bodily ailments:
• sleeping during the day
• being awake at night
• sexual intercourse
• being in a crowd
• unhealthy food
• delaying urination and defecation
• exhausting mental operations with prana
Obstacles in practice:
• when faced with illnesses, people who are afraid of them say: the cause of my illnesses is my engagement in practice;
• doubts about the effectiveness of practice;
• frivolity or confusion of mind;
• indifference or laziness;
• sleep;
• attachment to sensory objects;
• erroneous perception or delusion;
• attachment to worldly affairs;
• lack of faith;
• The inability to comprehend the truth
Exercise 1
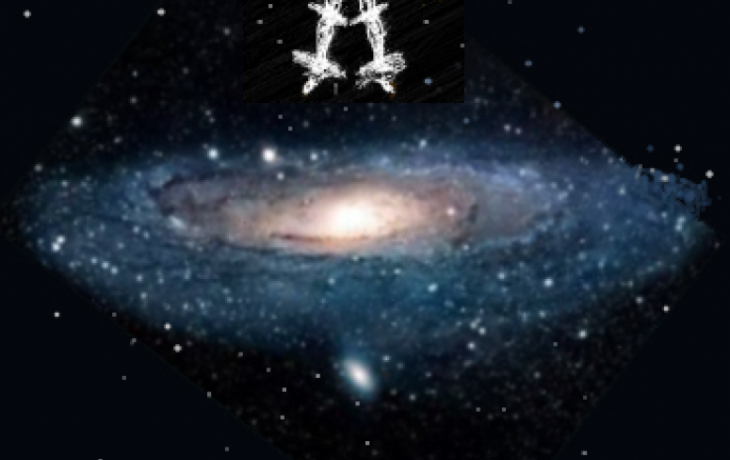
Our body has 72,000 energy centers, which are controlled by 108 energy centers; these, in turn, are controlled by 7 energy centers, which are controlled by three main ones — the spiritual, the mental, and the physical. In a healthy body, all the centers rotate at high speed, providing prana to all the systems of the human being.
When the functioning of one or more of these centers is disrupted, the flow of prana weakens or becomes blocked, and illness and old age arise. The best way to restore health and youth is to restore the centers to their normal energy characteristics.
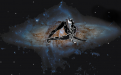
With the first exercise, we accelerate the energy centers, imparting speed and stability to their rotation. Standing straight with arms extended horizontally to the sides at shoulder level, you need to start rotating around your axis until you feel a slight dizziness. The direction of rotation is very important — from left to right, clockwise.
Before you start rotating, fix your gaze on some stationary point directly in front of you. As you begin to turn, keep your gaze fixed on the point you’ve chosen for as long as possible. When, due to the rotation of your head, the point of fixation of your gaze leaves your field of vision, quickly turn your head, anticipating the rotation of your torso, and as quickly as possible “capture” your reference point again with your gaze.
As you practice, you will gradually discover that you can rotate more and more without causing yourself noticeable dizziness. This technique of working with a reference point allows you to quite noticeably push back the limit of dizziness. The number of turns and other exercises per session ranges from 9 to 27.
Exercise 2
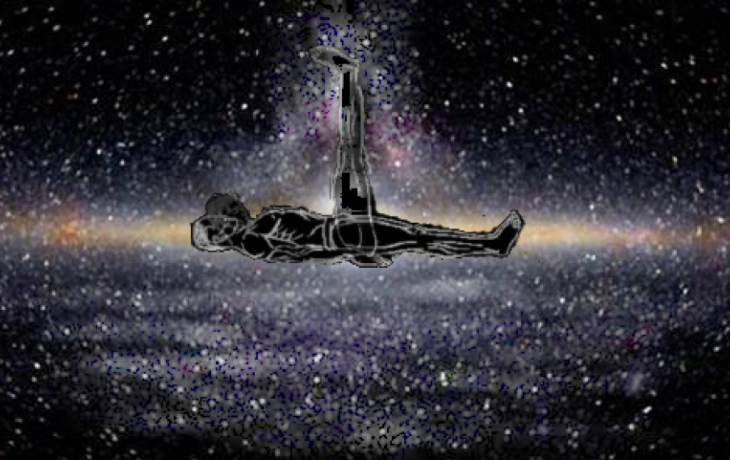
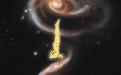
Following the first exercise, perform the second exercise, which fills the energy centers with vital energy. The starting position is lying on your back. It is best to lie on a firm and slightly soft surface. Extending your arms along your body and pressing your palms with tightly joined fingers to the floor, you need to lift your head, firmly pressing your chin against your chest.
After that, raise your straight legs vertically upward, trying not to lift your pelvis off the floor. Next, raise your legs not just vertically upward, but even further “toward you” — until your pelvis starts to lift off the floor. The main thing is not to bend your knees.
Then slowly lower your head and legs back to the floor. Relax all your muscles, and after that, repeat the exercise 9 to 27 times. Coordinating the movements with breathing is of great importance. At the very beginning, you need to exhale, completely emptying your lungs of air. While raising your head and legs, you should take a smooth but very deep and complete breath; while lowering them, you should exhale in the same way. The deeper the breathing, the more effective the practice.
After the second exercise, you need to stand up straight and, placing your hands on your hips, take several deep breaths, imagining how the energy centers of your body expand in space.
Exercise 3
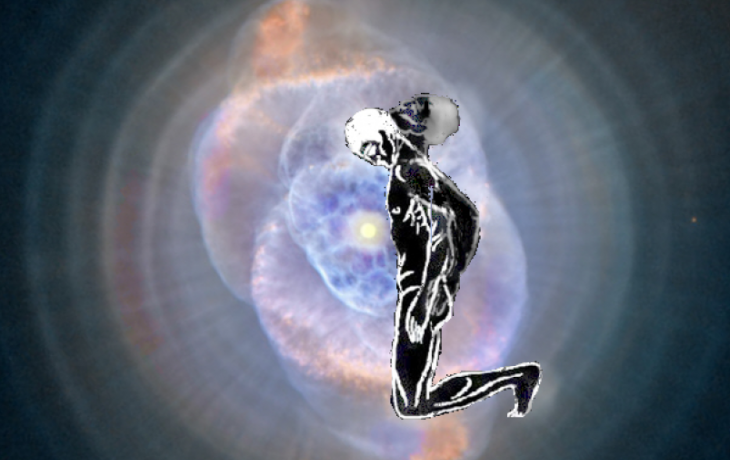
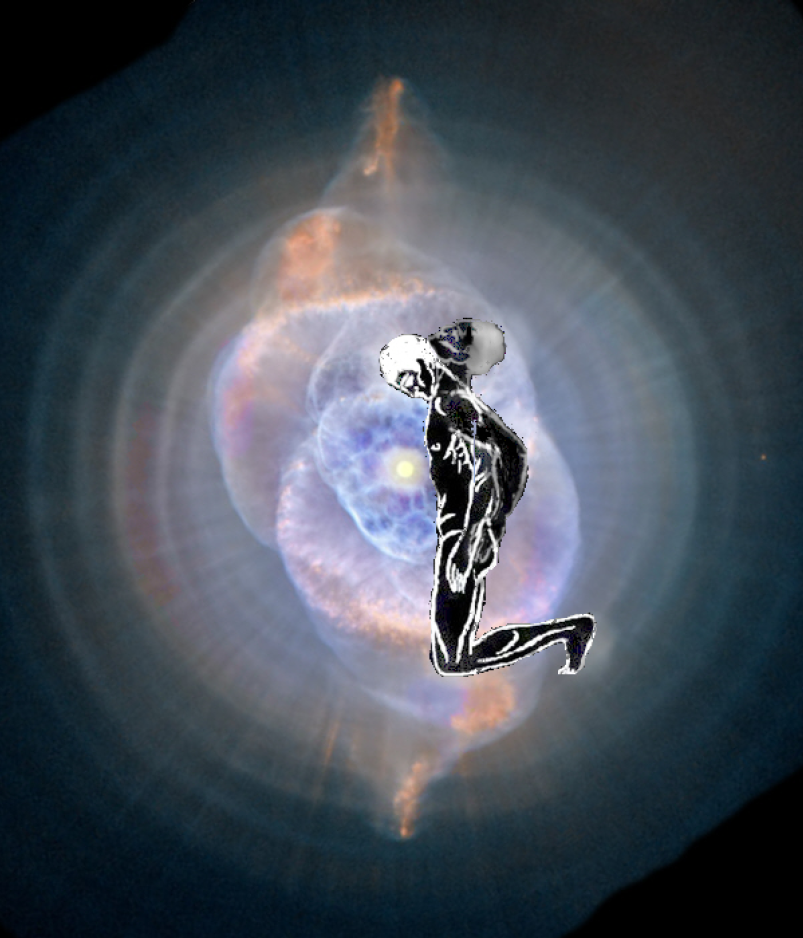
The starting position for it is kneeling. The knees should be positioned at a distance equal to the width of the pelvis from each other, so that the hips are aligned strictly vertically. The palms of the hands should rest on the back surface of the thigh muscles, right under the buttocks.
Then, tilt the head forward, pressing the chin against the chest. By throwing the head back, straighten the chest and arch the spine backward, slightly resting the hands on the thighs, and then return to the starting position with the chin pressed against the chest. The number of repetitions should be increased from 9 to 27 times.
The exercise requires strict coordination of movements with the rhythm of breathing. At the very beginning, you should make the same deep and complete exhalation as in the first one. When arching backward, you need to inhale; when returning to the starting position, you need to exhale. The depth of breathing is of great importance, since it is breathing that serves as the link between the movements of the physical body and the management of subtle energy. Therefore, it is necessary to breathe as fully and deeply as possible.
The key to full and deep breathing is always the completeness of the exhalation. If the exhalation is performed fully, the naturally following inhalation will inevitably be equally full. To ensure that attention is not distracted from the internal processes occurring in the etheric body, all exercises except the first one must be performed with closed eyes.
Exercise 4
To perform the fourth exercise, you need to sit on the floor, stretching your straight legs in front of you with your feet positioned approximately shoulder‑width apart. Straighten your spine and place your palms with your fingers closed on the floor on either side of your buttocks. The fingers of your hands should be directed forward. Lower your head forward, pressing your chin to your chest. Then tilt your head back as far as possible, and then lift your torso forward to a horizontal position. In the final phase, the thighs and torso should be in the same horizontal plane, while the shins and arms should be positioned vertically. Having reached this position, you need to strongly tense all the muscles of the body for a few seconds, and then relax and return to the starting position with the chin pressed to the chest. Then repeat everything from the beginning, 9 to 27 times. The key aspect is breathing. First, you need to exhale. As you rise and tilt your head back, perform a deep, smooth inhalation. During the exertion phase, hold your breath, and as you lower yourself, exhale completely. After the fourth exercise, stand up straight and, placing your hands on your hips, take several deep breaths, imagining how the whirlwinds of your body expand in space.
Exercise 5
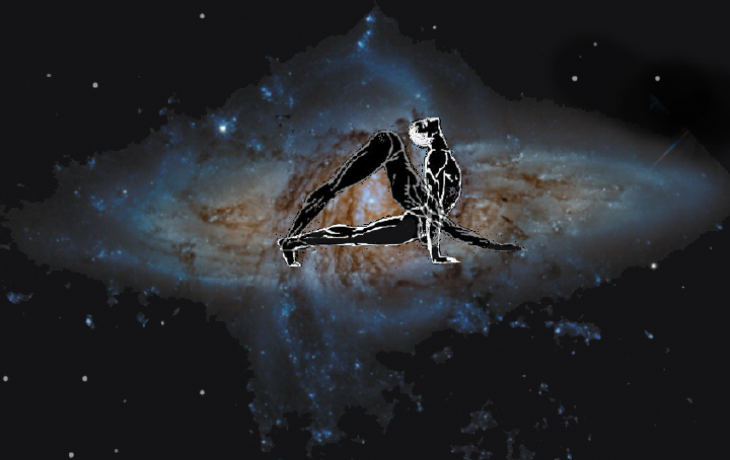
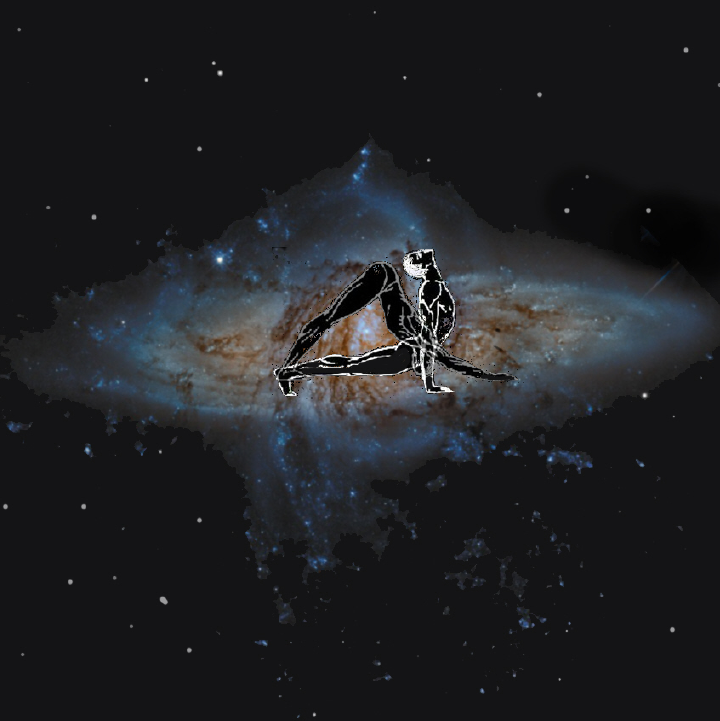
The starting position for it is a prone push‑up with a backward arch. In this position, the body rests on the palms and the pads of the toes. The knees and pelvis do not touch the floor. The hands are oriented strictly forward, with the fingers closed together. The distance between the palms is slightly wider than the shoulders. The distance between the feet is the same.
Start by tilting your head back as far as possible. Then move into a position where the body resembles an acute angle with its apex pointing upward. At the same time, use the movement of your neck to press your head against your chest, with your chin. Try to keep your legs straight, and ensure that your straight arms and torso are in the same plane. Then the body will appear to be folded in half at the hip joints.
After that, return to the starting position — a prone push‑up with an arched back — and start all over again, completing the exercise from 9 to 27 times. When returning to the starting position, arch your back as much as possible, but not at the expense of an extreme bend in the lower back; instead, straighten your shoulders and achieve maximum arching in the thoracic region. Don’t forget that neither the pelvis nor the knees should touch the floor. In addition, take a pause during the exercise with maximum tension in all muscles of the body in both extreme positions — when arching and when rising to the “angle”.
The breathing pattern is somewhat unusual. Starting with a full exhalation in a prone position with a back arch, take a deep breath as possible when “folding” the body in half. Returning to the prone position with a back arch, make a full exhalation. When stopping at the extreme points to perform a tense pause, hold your breath for a few seconds, respectively, after the inhalation and after the exhalation.
Exercise 6
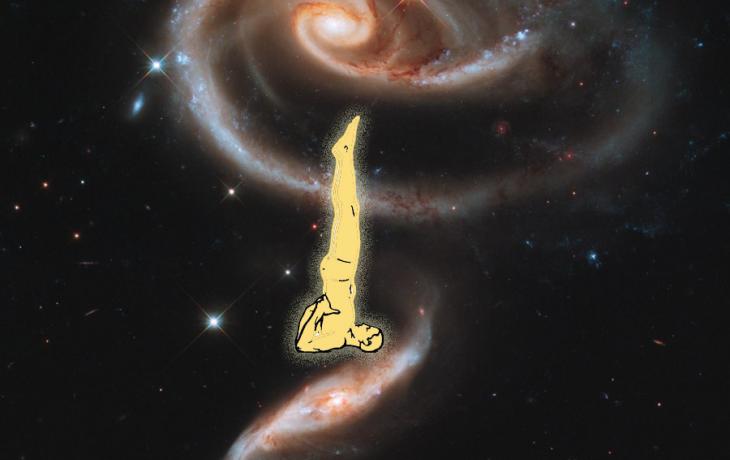
“Birch” pose on the shoulder blades.
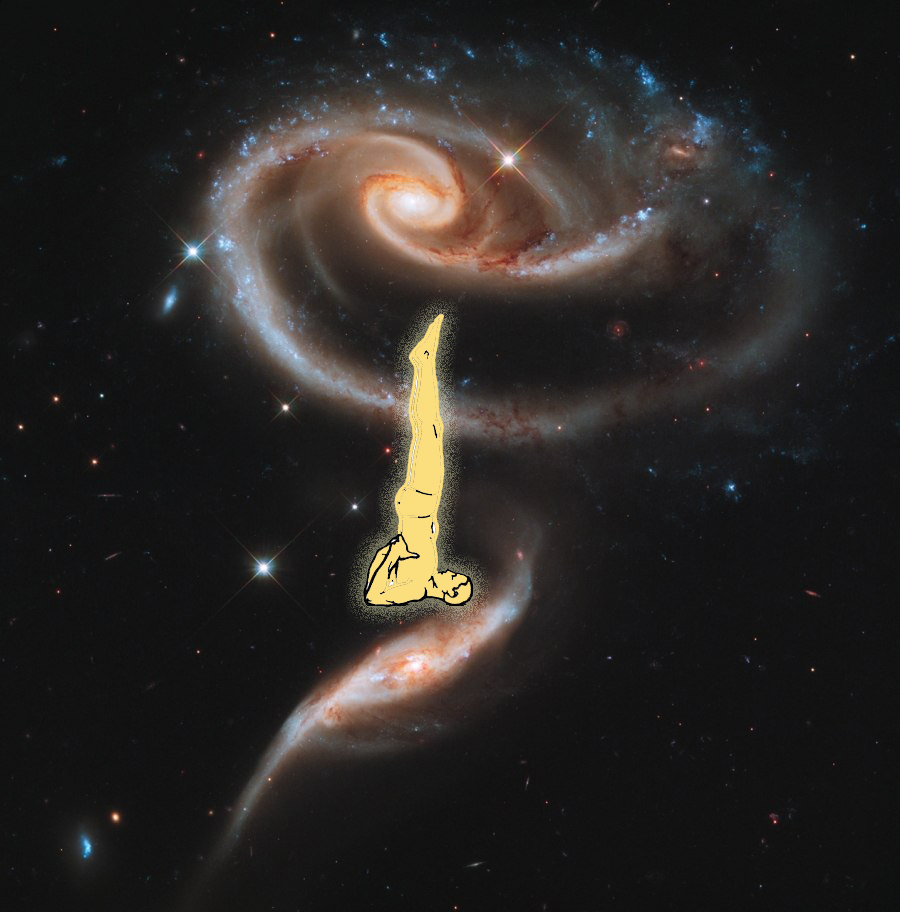
It stimulates the activity of the endocrine glands, improves thyroid function, treats gastritis, constipation, dyspepsia, various functional diseases of the eye organs and the ear‑nose‑throat area, hepatitis, and also relieves headaches. This pose is also beneficial for varicose veins in the legs. We start from a lying position, lifting the pelvis with bent knees towards the chest, then straightening the legs while supporting the body with the palms. To exit — slowly and symmetrically lay the body on the floor. Perform from 9 to 27 breaths in and out.
Exercise 7
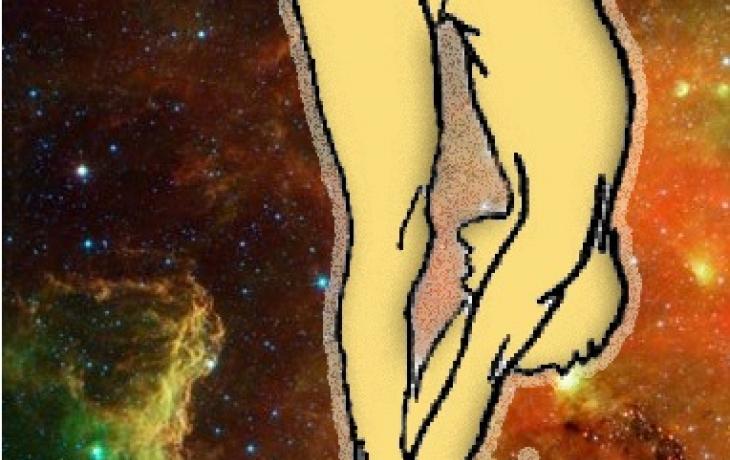
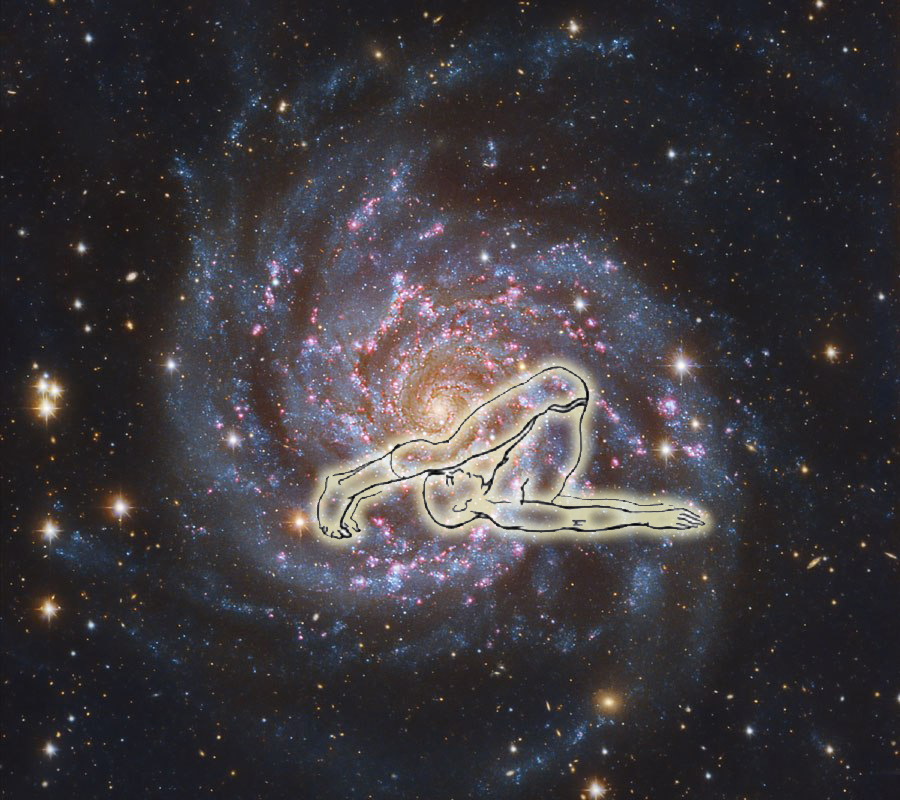
“Plough”
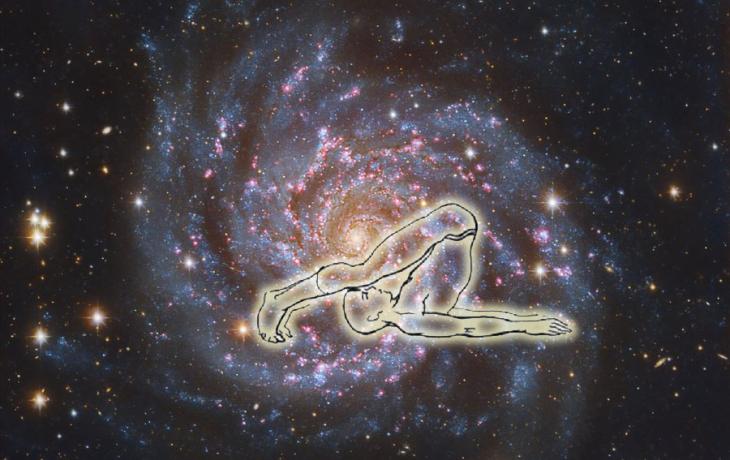
The maximum possible spinal traction is achieved, especially in the cervical region; it preserves and develops spinal flexibility, relieves lower back pain, and corrects minor posture issues. It has an activating effect on the intestines, eliminates constipation, cleanses the liver, activates the spleen and the functioning of the adrenal glands. It improves insulin production by the pancreas and has a beneficial effect on kidney function. It normalizes the function of the pelvic organs (internal genital organs) and removes excess fat deposits in the waist and abdomen area.
Daily practice relieves fatigue and neuropsychological stress, enhances mental activity, and alleviates headaches. It helps with insomnia and relieves discomfort during menopause. It improves immunity and regulates thyroid function.
From a lying position, exhale and bring your legs over your head — it is advisable to do this smoothly, without sudden movements. The legs can remain in the air, parallel to the ground, or you can place your toes on the floor. The heels are gently pushed away from you, and the legs are straightened at the knees.
This creates a reliable support for the shoulders and protection for the thin and fragile cervical vertebrae. Breathing is calm and deep; we breathe with our abdomen. Physical concentration is focused on the abdominal area, relaxation of the back and neck, and breathing. On exhalation, smoothly straighten the back back to the floor. Perform 9 to 27 breaths.
Exercise 8
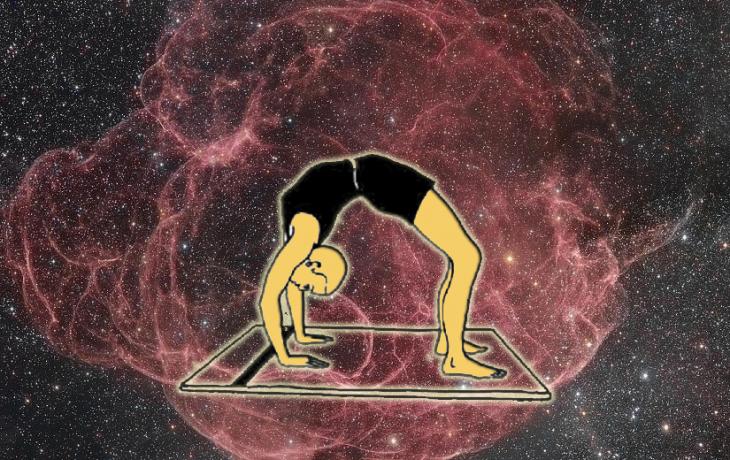
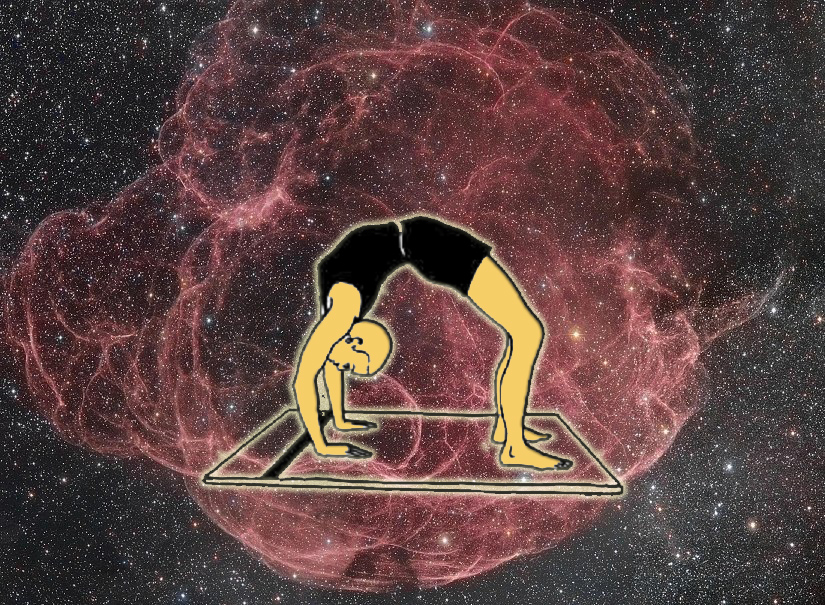
“Bridge”
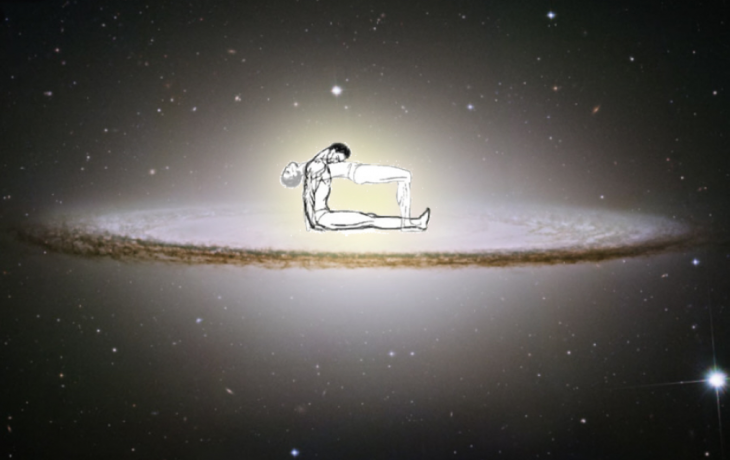
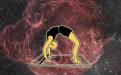
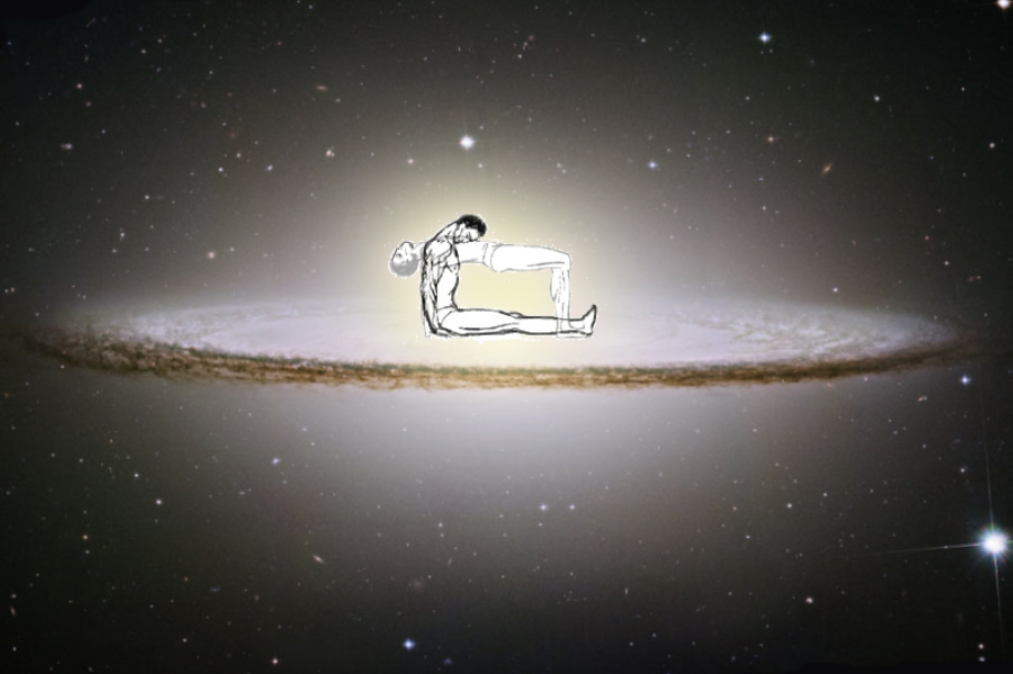
This is a “litmus test” for determining a person’s health. When performed correctly, the body stretches into a soft semicircle. The arch in the back trains the spinal column, straightening a slumped back and shoulders. The very increase in the range of motion of the spine significantly improves the nutrition of the surrounding tissues and the nutrition of the tissues of the spine itself, which helps to accelerate regeneration processes. It promotes the expansion of the chest and shoulder joints, eliminates excess fat on the torso and legs, stimulates the functioning of the thyroid gland and pituitary gland, and strengthens the wrists, muscles of the arms and legs, buttocks, spine, and abdominal area.
Under no circumstances should compression load be allowed to affect individual vertebrae; all movements when entering and exiting the position should be smooth. Perform 9 to 27 breaths in and out.
Exercise 9
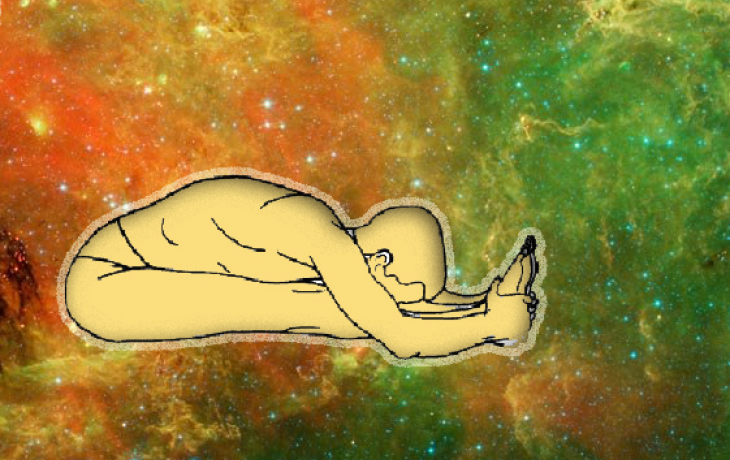
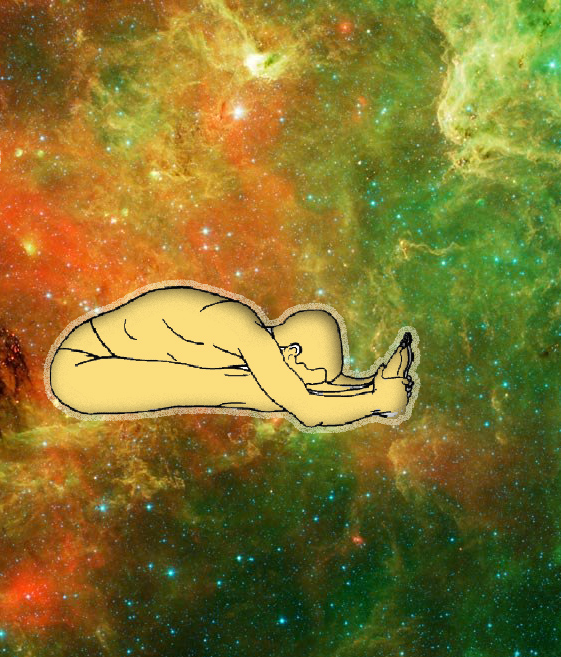
“Seated Stretch”
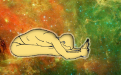
While sitting, lean towards the straight left leg, then the right leg, and then both straight legs, alternately performing 9 to 27 breaths in and out. The back of the legs, the back, and the neck are stretched. Accordingly, the second one is “stretching the eastern side of the body,” i.e., the front side. You have to endure a real struggle — overcoming rigidity in the lumbar region, hips, hamstrings, hip joints, shoulders, and, most importantly, the struggle in the realm of the mind, which begins to wander and get upset.
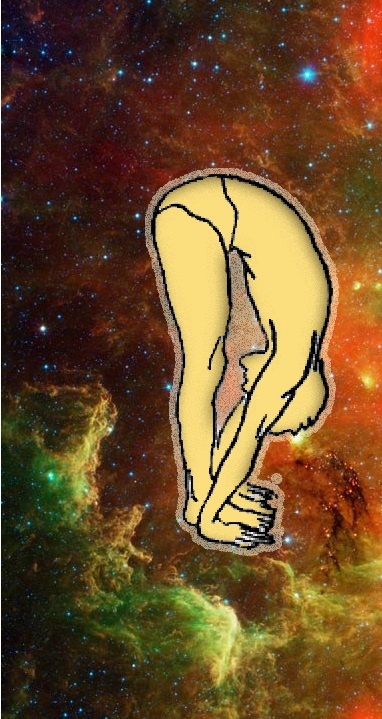
“Standing stretch”
Standing — from a standing position, exhale and lower your fingers to the floor. You can continue pressing your palms to the floor, but if this causes your back to round, it’s better not to do so. You can even use blocks as support or rest on your legs if you can’t reach the floor. As an alternative, you can bend your knees, aligning your spine properly. Look forward, move your shoulders away from your ears — it’s very important not to tense the back of your neck, but to stretch it; the shoulder blades are drawn together and form a single plane. In this pose, the spine is stretched deeply and intensely. Perform 9 to 27 breaths.
Exercise 10
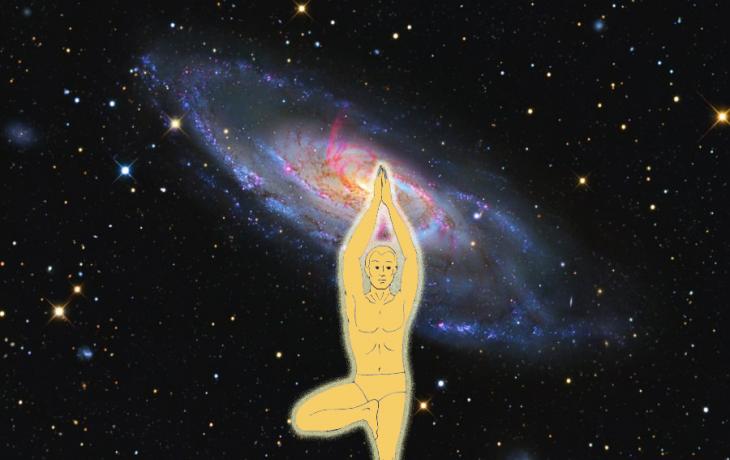
“Tree”
We practice standing alternately on the left and right leg with our eyes closed. The exercise leads to harmony and balance — both external and internal. Like any balance, the Tree exercise requires simultaneous concentration and relaxation, a high degree of awareness of internal sensations, and stretching throughout the body. There is, in general, much to learn from trees — their resilience and stability, their peace, their growth, and the exchange of energy between heaven and earth. First, you need to stand with your eyes closed on your left leg. Press your entire right foot against your left thigh, pointing your toes downward. While balancing on your left leg, join your palms and extend your arms above your head. Perform 9 to 108 breaths. After that, you need to stand with your eyes closed on your right leg. Press your entire left foot against your left thigh, pointing your toes downward. While balancing on your right leg, join your palms with your hands gathered at your heart. Perform from 9 to 108 breaths and exhalations.
In all exercises, mentally recite the mantra OM or AUM during inhalation or exhalation.
Sochi Email +7(962)886-28-39